With all the hype around polysynths this week, I thought it would be a good time to share that I’ve started my own analog polysynth project a few weeks ago. This is something I’ve been wanting to do for a while but have put it off because I know it will take a lot of time and be expensive to finish. I think I’m up to the challenge!
I’ve planned out most of the synthesis architecture. 2 VCOs, a filter, and plenty of VCAs for control. The envelope generators, LFOs, and other modulation will be done in software. My first goal is to work towards an SPI programmable monophonic analog synth voice. Then to make it polyphonic, I’d tie a few of them together with a master SPI unit that gathers preset data from the control panel, keyboard, and other inputs.
An early model showing all the routing options. I will be adding onto it and revising it when I create the schematic for the voice card.
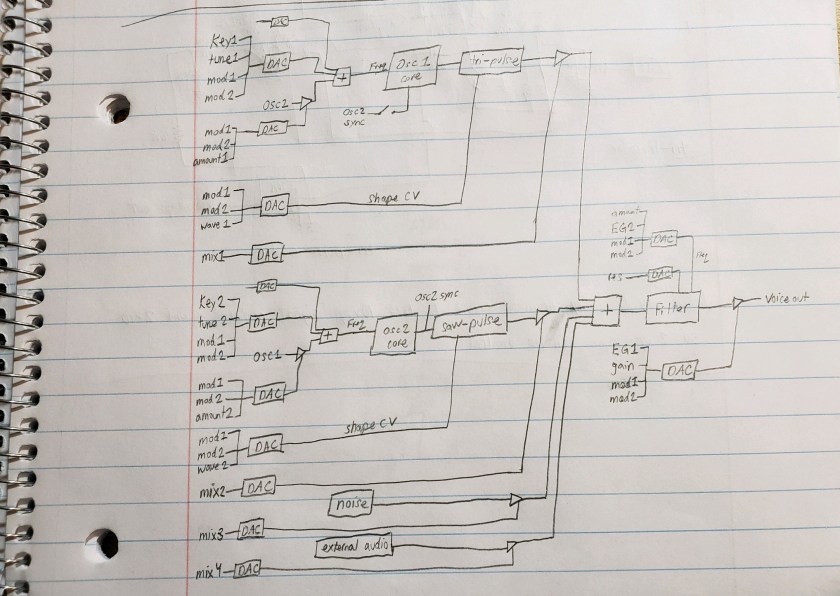
What I think makes this architecture interesting is that VCO1 will be a triangle core, and VCO2 a sawtooth core. This allows me to implement two different oscillator syncs that work differently for each core. When synced, the sawtooth core is reset to 0v, but the triangle core output is reversed. It is a subtle effect, but I think it will be cool and there is a lot of variety I can do with this approach while keeping the part count down.
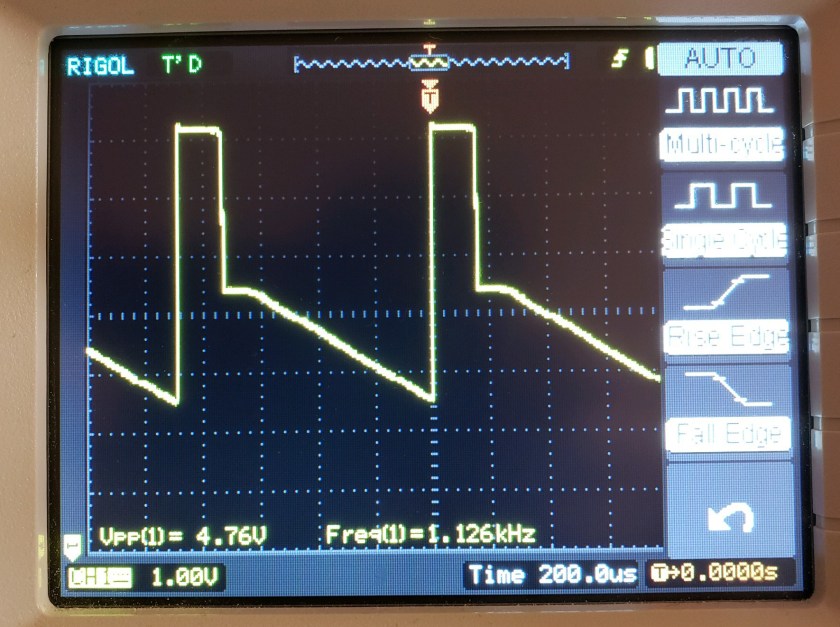
I’ve borrowed the waveshaping circuit from the Micromoog, I think it is very clever! It allows a continuously variable waveshape from saw to square to narrow pulse using just a transistor and 3 op-amps!
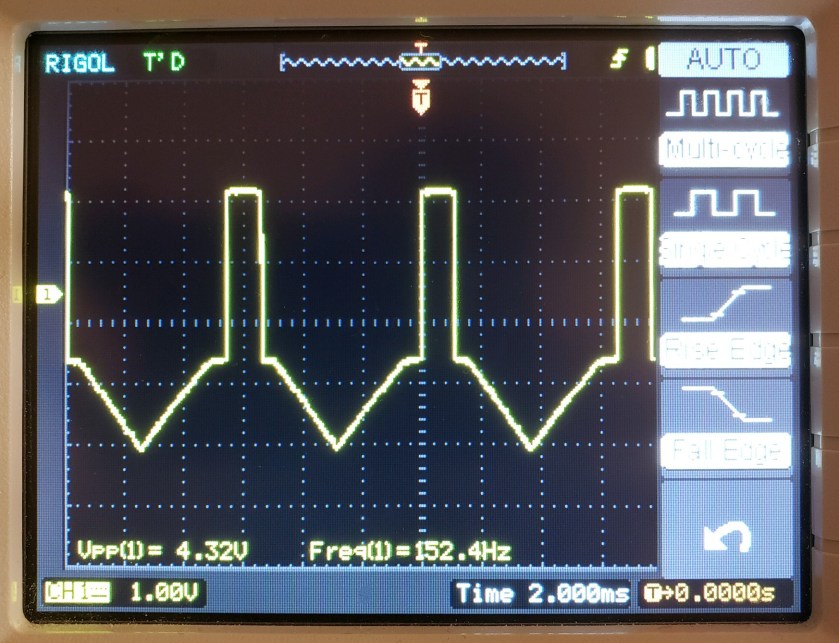
And here’s the triangle wave going through the same wave shaping circuit. The outputs look good so far.
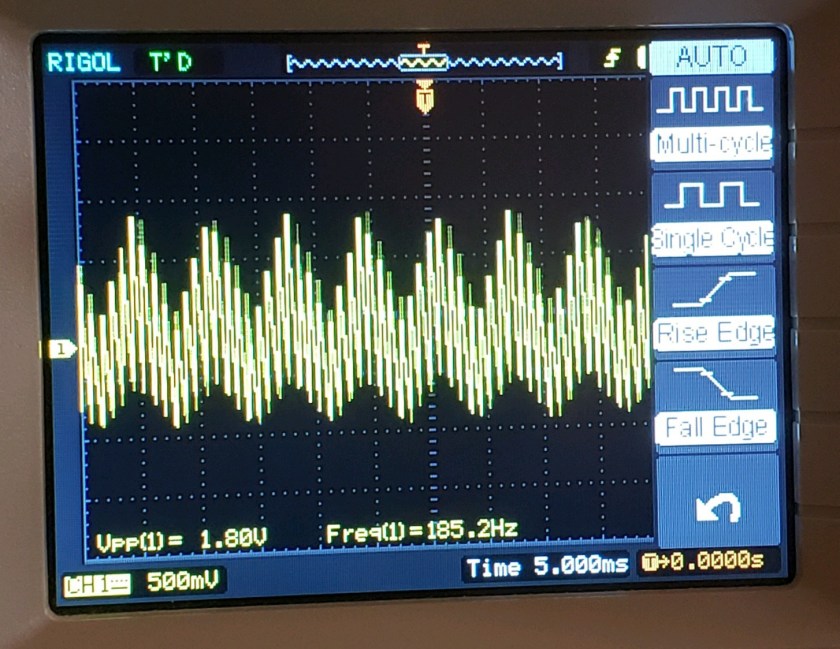
After breadboarding a basic LM13700 VCA circuit, here is a sawtooth wave whose amplitude is modulated by a triangle wave, it works!
A lot of work to be done. That’s all for now.